In an era dominated by digital transformation and the exchange of sensitive data, the security and efficiency of file transfers have become top-of-mind for IT leaders in enterprise-level organizations. When managing complex IT environments requiring robust, reliable, and secure file transfer protocols, you may face mounting pressures.
Read More
Topics:
Secure File Transfer,
file transfer,
mft solutions
Secure data transfers are pivotal for maintaining a competitive advantage in our swiftly evolving digital landscape. As cybersecurity challenges rise and the shift towards cloud-based ecosystems continues, your strategy for secure data streaming becomes a cornerstone of business operations. It integrates advancements in data security and considers the implications of AI and automation on cybersecurity.
Read More
Topics:
Managed File Transfer,
file transfer,
mft solutions,
data streaming
For the past few decades, many organizations have used the SSH File Transfer Protocol (SFTP) as their main file transfer solution. It’s more secure and less prone to connectivity issues than the archaic File Transfer Protocol (FTP). However, it’s becoming increasingly clear that SFTP is also starting to age. Companies struggle to meet today’s business needs and use cases with purely SFTP-based solutions.
Read More
Topics:
JSCAPE MFT,
SFTP,
sftp server,
mft solutions
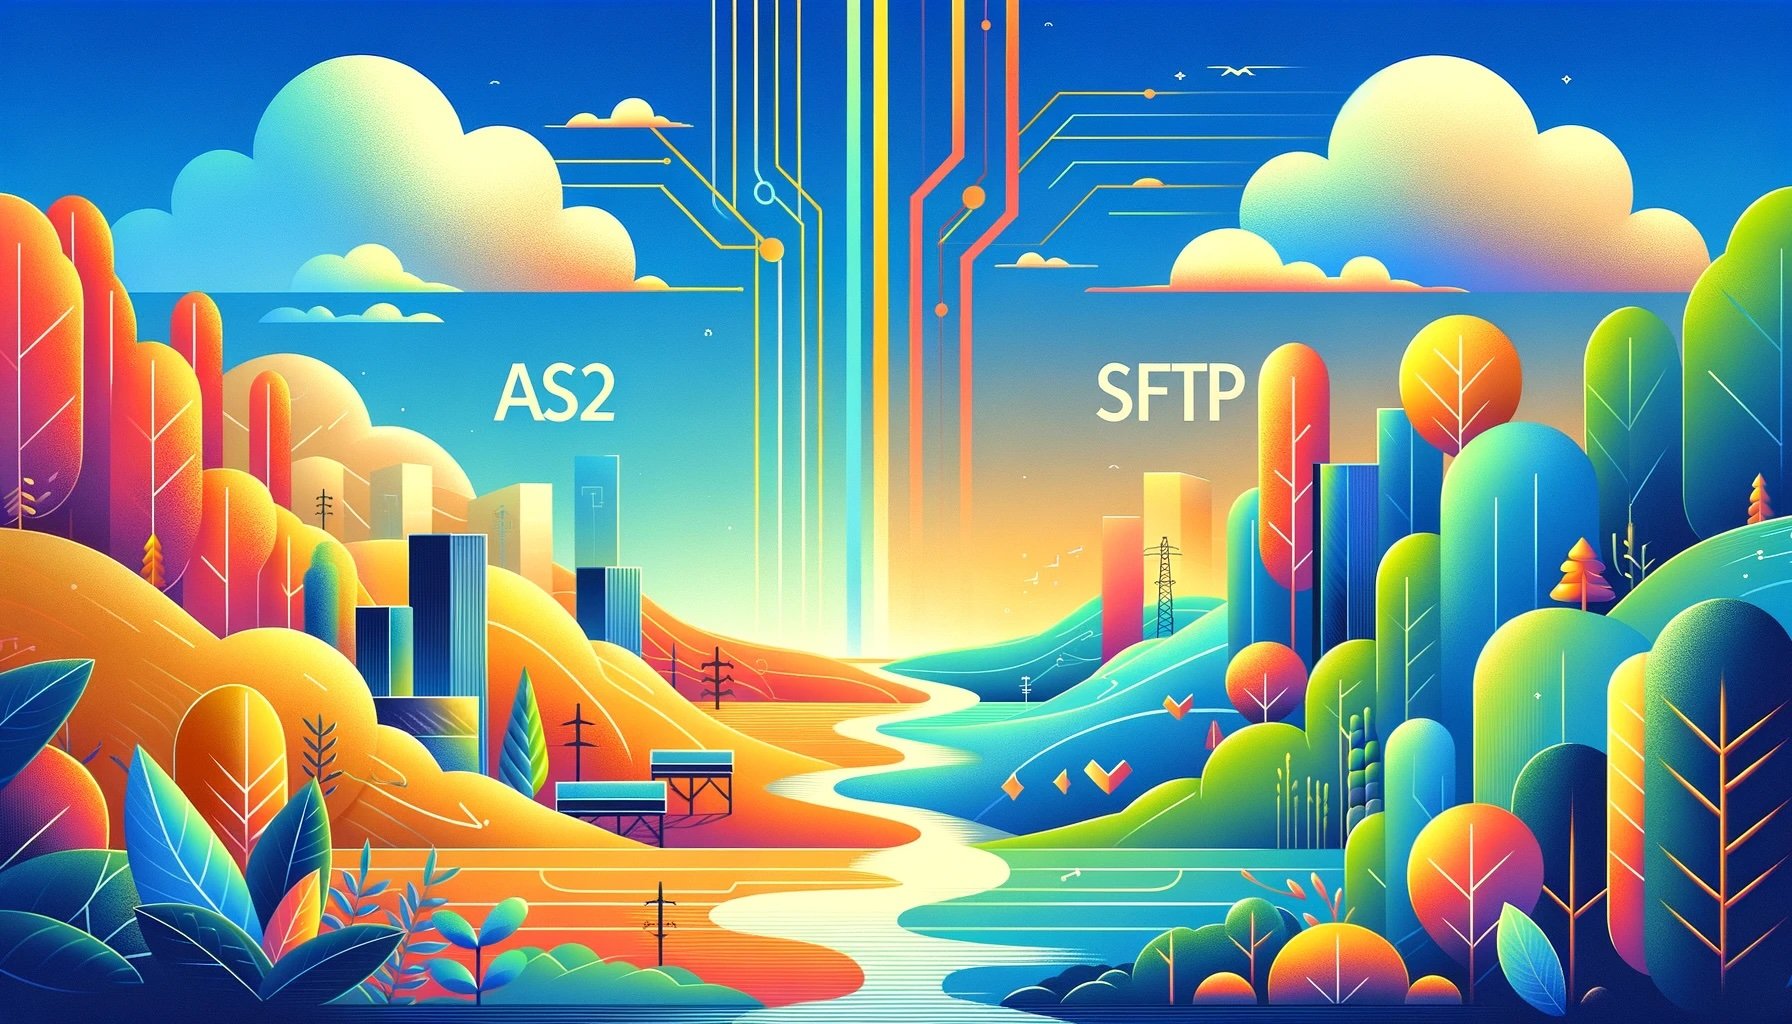
What is AS2 protocol?
AS2 or Applicability Statement 2 is a file transfer protocol that’s commonly used in business-to-business (B2B) data transfers. It’s based on the S/MIME and HTTP/S protocols. While you can theoretically use AS2 to transfer almost any type of file, it’s normally associated with electronic data interchange (EDI).
Read More
Topics:
SFTP,
AS2,
FTP,
file transfer protocol
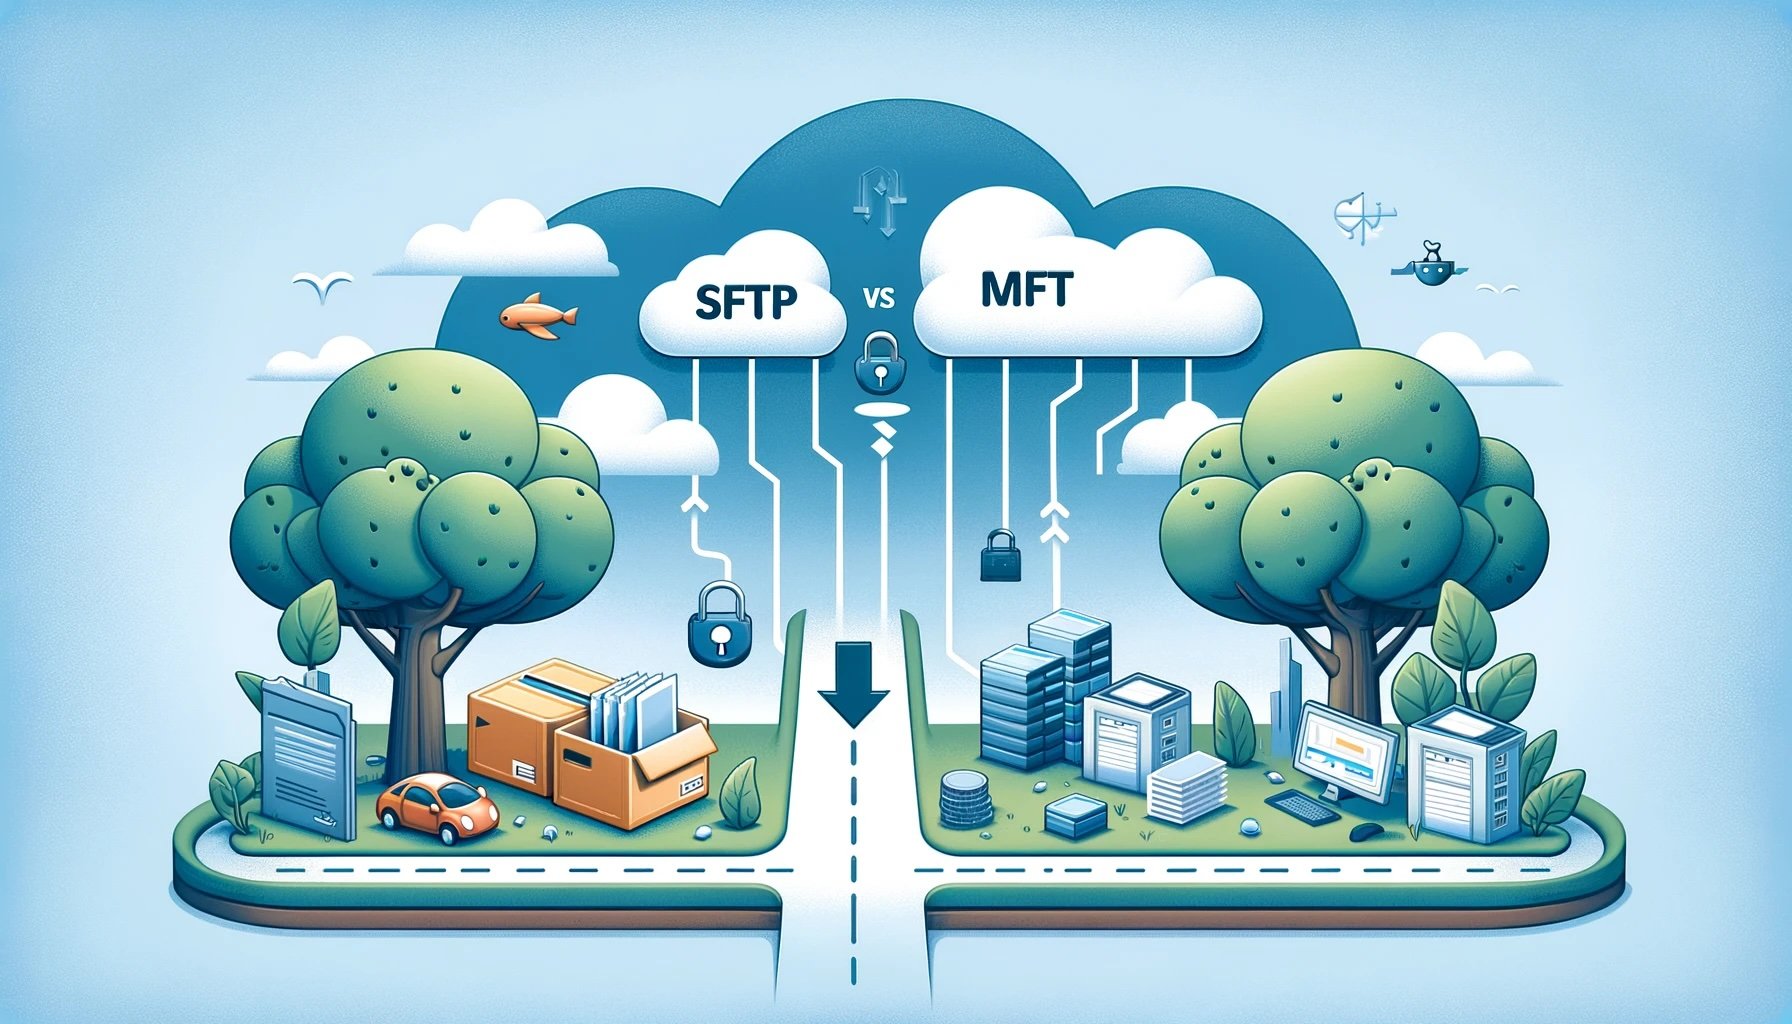
When you first start scouting for the right file transfer protocol for your organization, you’re bound to encounter these two acronyms: SFTP and MFT. SFTP stands for SSH File Transfer Protocol, whereas MFT stands for Managed File Transfer. While SFTP is indeed a protocol, MFT isn’t. Nevertheless, these two acronyms become increasingly intertwined once you explore advanced, secure, automated file transfer solutions.
Read More
Topics:
JSCAPE MFT,
Managed File Transfer,
SFTP,
FTP
Some people are unsure of the difference between MFT Gateway and SFTP server. These are two distinct applications with different core functionalities. Combine them, and you’ll get a more secure, compliant, and highly available file transfer environment.
Read More
Topics:
JSCAPE MFT,
sftp server,
mft gateway
Pretty Good Privacy (PGP) and GNU Privacy Guard (GPG) are two cryptographic software tools that enable data encryption, authentication, and integrity. These tools primarily secure email communications and transfer files. In the case of the latter, PGP and GPG can be particularly useful in providing data-in-motion security for unencrypted file transfer protocols like FTP and HTTP. They also provide data-at-rest encryption for files stored in a file transfer server.
Read More
Topics:
gnu privacy guard,
decrypt,
gpg,
encryption,
pgp
As 2023 comes to a close, JSCAPE is excited to announce more integrations for MFT Server and MFTaaS, as well as a wider variety of protocols for MFTaaS. With this update, easily connect to more of your existing solutions while maintaining a strong security posture.
See JSCAPE in action during our most recent webinar ↗
Read More
Topics:
JSCAPE MFT
JSCAPE 2023.1 | Managed File Transfer as a Service (MFTaaS)
JSCAPE is now available in SaaS, expanding the choices of environments in which to deploy the solution: on-premises, private cloud, hybrid or SaaS. This SaaS solution (also known as Managed-File-Transfer-as-a-Service or MFTaaS) is perfect for organizations that have limited IT bandwidth, limited office space, security or compliance concerns or fully remote employees – especially those that want to reduce their burden in managing and troubleshooting their MFT solution.
Read More
Topics:
JSCAPE MFT
As one of the easiest-to-use managed file transfer solutions available, JSCAPE MFT is able to support a variety of users, including those that need to work using languages other than English.
Read More
Topics:
JSCAPE MFT